Pocket doors are becoming more popular than ever in modern homes due to their space savings and nice design. In addition, the placement of the side pocket door requires proper framing and accurate modeling to avoid difficulties in operating it. This guide will help you to understand how to frame for a pocket door. From measuring the opening to securing the track, we will teach you all the basic steps to help you install a pocket door in your home.
What are pocket doors?
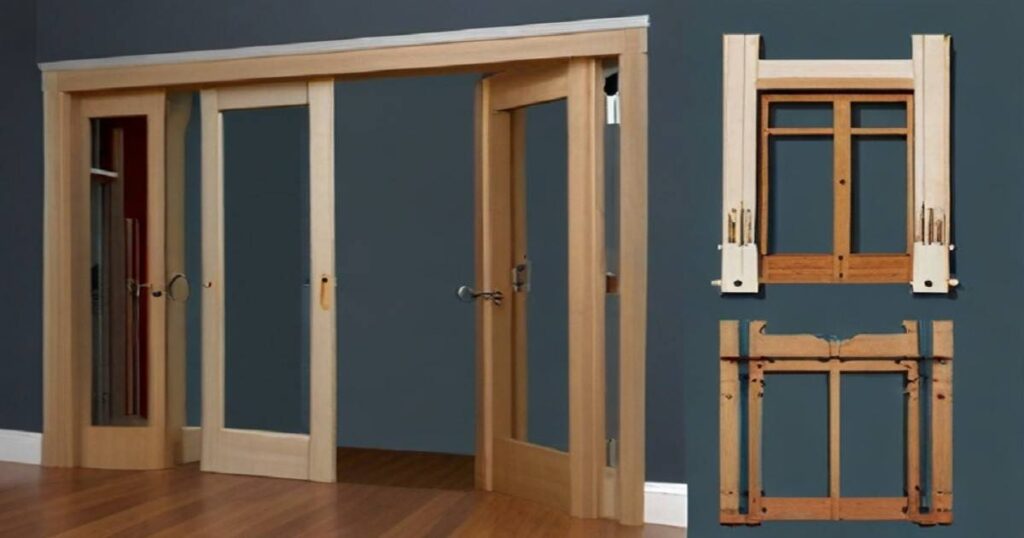
A pocket or sliding door goes into a pocket in the wall instead of opening. They are ideal for compact spaces as they help keep the floor clear. They work very well whether they are placed indoors or outdoors, as they allow attractive movement between rooms or outdoor areas.
How to Determine the location of the pocket door
Before installing the door frame, the first thing you need to do is determine the location of the door. It is essential to do this in advance as the next two steps will determine the size and placement of your frame. When choosing a location for the pocket door, take into account that the flow of traffic does not obstruct it, the placement of furniture, and anything else that can be an obstacle.
Additionally, it would be wise to investigate whether there are any electrical or plumbing lines running through the wall where you want the door. In case of obstacles, it will be necessary to relocate the wires, and then you can proceed to the installation of the pocket door frame.
Tools and Materials Needed
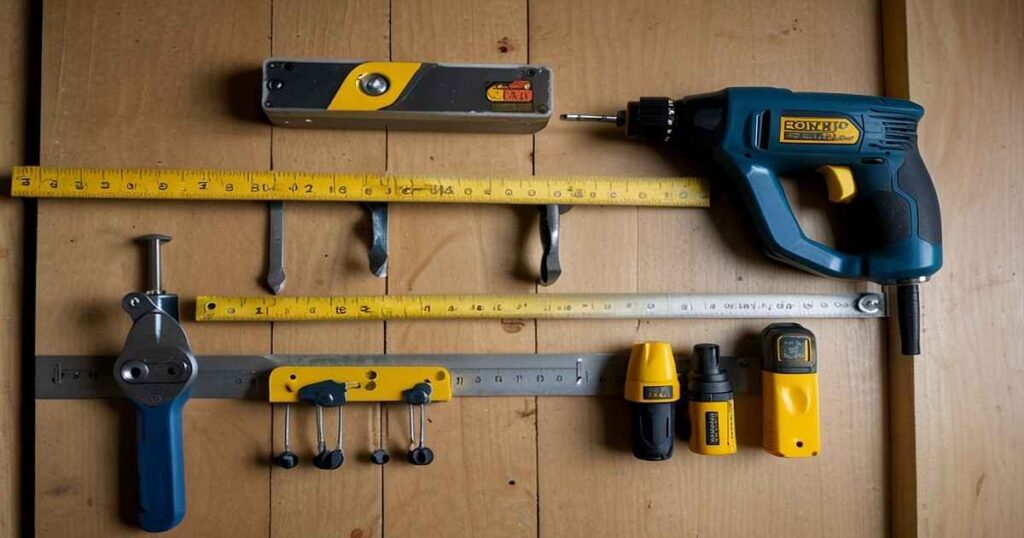
For framing a pocket door you will need the following tools and materials:

- Tape Measure
- Level
- Stud Finder
- Saw (either circular or reciprocating)
- Drill
- Wood Screws
- Hammer
- Pocket Door Frame Kit
Step-by-Step Framing for a Pocket Door
Step 1: Measure the Opening

Start by using your tape measure to determine the width and height of the pocket door you plan to install. You will need to add at least 2 inches to the width and about an inch to the height to ensure proper clearance for the door and its hardware. This extra space is crucial for the smooth operation of your pocket door.
Step 2: Cut and Install the Header and Studs

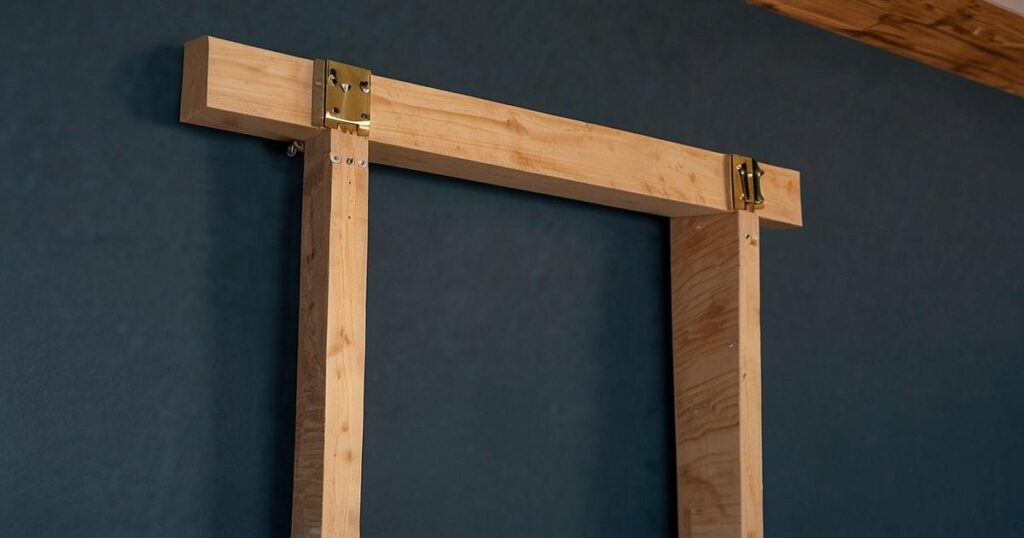
To frame a pocket door with metal studs, Using the saw, cut the header to the measured length. The header is the horizontal piece that will support the top of your door frame. Next, cut the studs that will frame the pocket door on either side. These studs need to be cut to the height of your door opening, plus the additional height for the door’s overhead track system. Use the level to make sure everything is straight and properly aligned before securing the header and studs with wood screws.
Step 3: Install the Pocket Door Frame Kit

To frame and install a pocket door align the pocket door frame kit with the installed header and studs. Most kits come with specific instructions for alignment and securing the frame to the wall. Follow these instructions carefully. Drill the necessary holes and use wood screws to secure the frame kit in place. Make sure the frame is level and plumb to avoid any operational issues with the wood door later on.
Step 4: Adding Drywall and Finishing Touches
After the frame is installed, you can proceed to cover the framing with drywall. Cut the drywall to fit the frame and secure it with screws. Be sure to leave the space for the door slide clear of any screws or nails to avoid damaging the door. Finally, apply joint compound, sand smooth, and paint as desired to match the surrounding wall.
These are the best ways to frame a pocket door by following these detailed steps, you can ensure that your pocket door is not only functional but also adds an element of style to your living space without compromising on space efficiency.
Maintenance Tips for Pocket Doors

- Regularly check and clean the door track to ensure smooth operation.
- Lubricate the rollers and tracks with silicone spray or dry lubricant to prevent rusting and sticking.
- Check for any loose screws or bolts in the hardware and tighten as needed.
- Keep an eye out for any signs of wear and tear, such as frame cracks or door damage, and address them promptly.
- In case of any issues with the pocket door, consult a professional for repairs rather than trying to fix it yourself.
Related: How to repair a door frame with wood filler
FAQs:
Can a pocket door be installed on a 2×4 wall?
Yes, the 1500 Series Universal Pocket Door Frame offers a high-quality, easily assembled solution for installing pocket doors into 2×4 stud walls, catering to both commercial and residential needs.
What size wall is needed for a pocket door?
To calculate the space needed for a pocket door to slide into a wall, simply double the width of the door you want to install. Then, add an extra 36mm (about 1.4 inches) for the pocket door frame’s thickness. This ensures the door can fully retract into the wall cavity without hitting anything.
Can you put a pocket door on a solid wall?
A sliding pocket door gadget can be used on both plasterboard walls (or stud walls) or masonry walls (or solid walls).
Can any slab be used for a pocket door?
As long as it is the correct size and thickness, any door slab can be used for a pocket door.
Conclusion
Installing a pocket door can be a great space-saving solution for your home. With proper framing and installation, you can easily add functionality and style to any room. By following the steps outlined in this guide and regularly maintaining your pocket door, you can enjoy its benefits for years to come.


