Sliding screen doors are a popular choice for homeowners looking to add convenience and style to their homes. These doors provide easy access to outdoor spaces while also allowing fresh air and natural light to enter the home’s interior. With the increasing popularity of DIY projects, installing a sliding screen door has become a simple task that anyone can do with basic tools and skills.
In this guide, we will take you through the step-by-step process of how to install a sliding screen door, from choosing the right door to ensuring a proper fit and smooth operation.
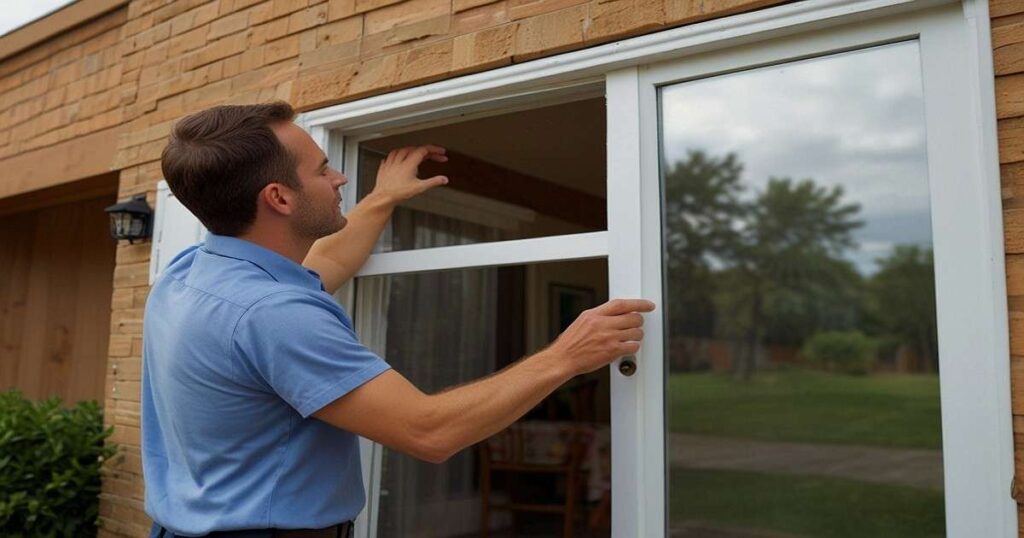
Importance of installing a sliding door
Sliding screen doors are versatile and provide a lot of advantages, which make them popular among house owners. There are several reasons why sliding doors are important:
- Improved ventilation: Sliding doors allow for easy airflow, making it possible to enjoy fresh air and natural light without having to open the main door.
- Enhanced views: The large glass panels of sliding doors provide unobstructed views of the surrounding landscape, adding a sense of spaciousness and beauty to any room.
- Easy access: Sliding doors make it easy to move in and out of your home, especially when carrying large items or entertaining guests.
- Energy efficiency: With the right materials and installation, sliding doors can help improve the energy efficiency of your home by keeping cool air in during the summer and preventing heat loss during the winter.
- Space-saving: Unlike traditional hinged doors, sliding doors don’t take up any space when opened, making them a great option for smaller rooms or homes with limited space.
Tools And Materials Required
Before getting started, you will need a sliding screen door kit that contains the following tools and materials:
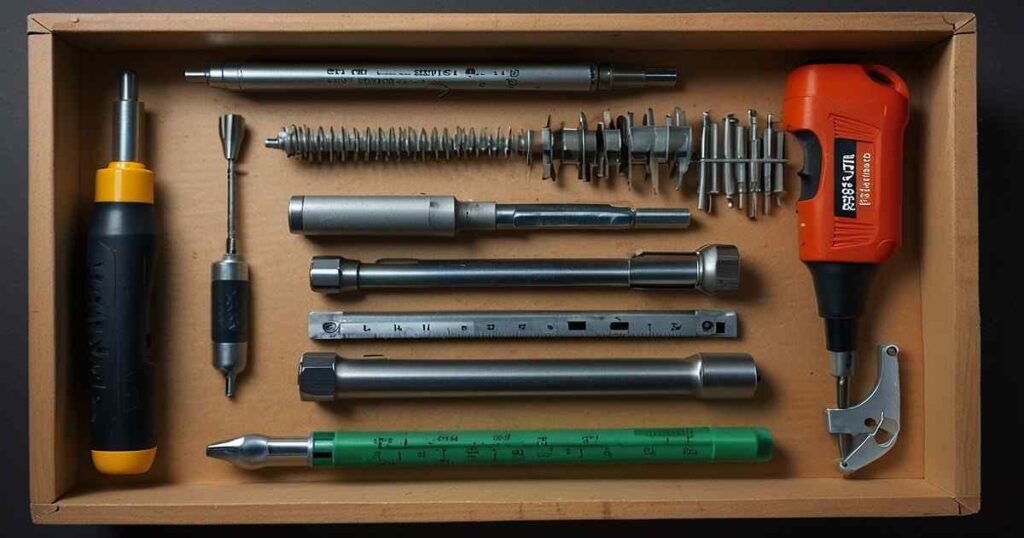
- Cordless Drill
- 3 mm Drill Bit
- 5/32 Drill Bit
- Phillips Screwdriver
- Hacksaw
- Pop Rivet Gun
- Flat Head Screwdriver
- Level
- Measuring Tape
- Pencil or Marker
- Self-Tapping Screws
- Safety Glasses and Gloves (recommended)
How to Install a Sliding Screen Door? Step-by-step Guide
Step 1. Sliding the door
The first step in installing a sliding screen door is to remove the door from its packaging and lay it on a flat surface. Make sure that all the essential hardware, including rollers and handles, are included and in good condition.
Step 2. Measure your opening
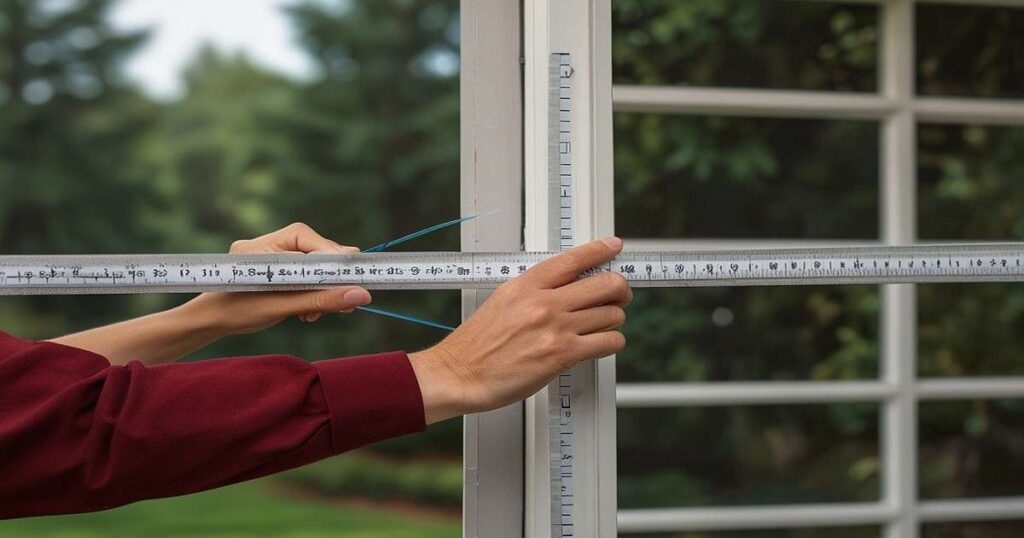
Using a measuring tape, determine the width and height of your door opening. Ensuring that the measurements are accurate is essential, as any mistakes can result in a poorly fitting door. Additionally, measure the track of your door frame to ensure that it can accommodate the width of the sliding door.
Step 3. Cut the tracks
The upper and lower edges of the slider will require cutting according to the dimensions of the opening. Cut it with hacksaws to the specified length making sure that they are shorter than the width of the opening so that they can be installed properly.
Step 5. Install the bottom track
Position the bottom track in place, making sure it is level and aligns with the top track. Pre-drill holes along its length and secure with self-tapping screws. Use a level to ensure the track is straight and adjust if necessary.
Step 6. Attach rollers to the door
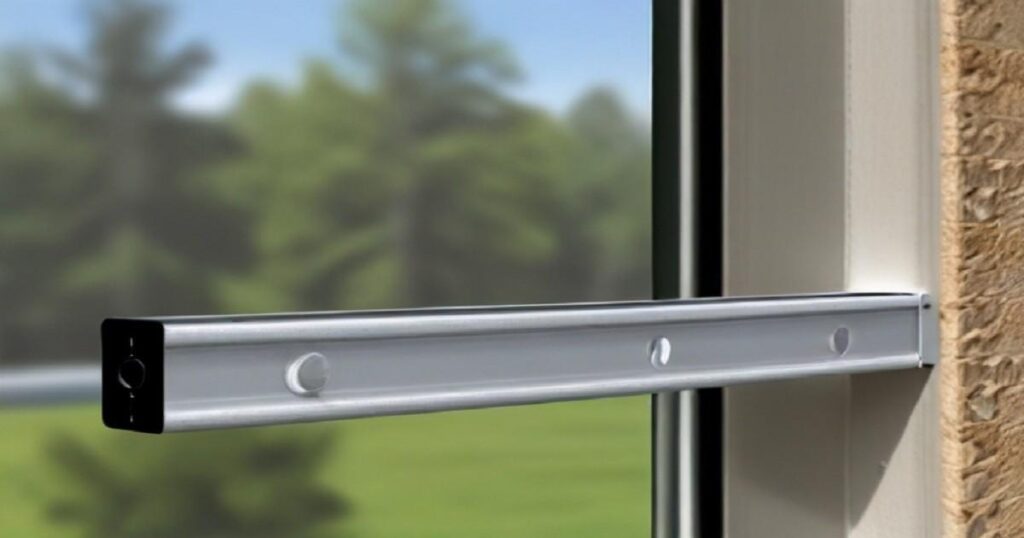
To install sliding screen door rollers, Slide the rollers into the designated slots on the bottom of the door. Make sure they are securely attached and can easily move back and forth on the tracks.
Step 7. Attach handles
To install a sliding screen door handle Use a screwdriver, and attach the handle to both sides of the door. Make sure they’re aligned and steady.
Step 8. Install the screen mesh
Unroll the screen mesh and lay it over the frame of the door. Smooth out any wrinkles or creases and trim off any excess using a sharp knife.
Step 9. Install the door
Lift the door and insert the rollers into the top track. Carefully slide it along the track until it reaches the bottom track, making sure that it moves smoothly.
Step 10. Test and adjust
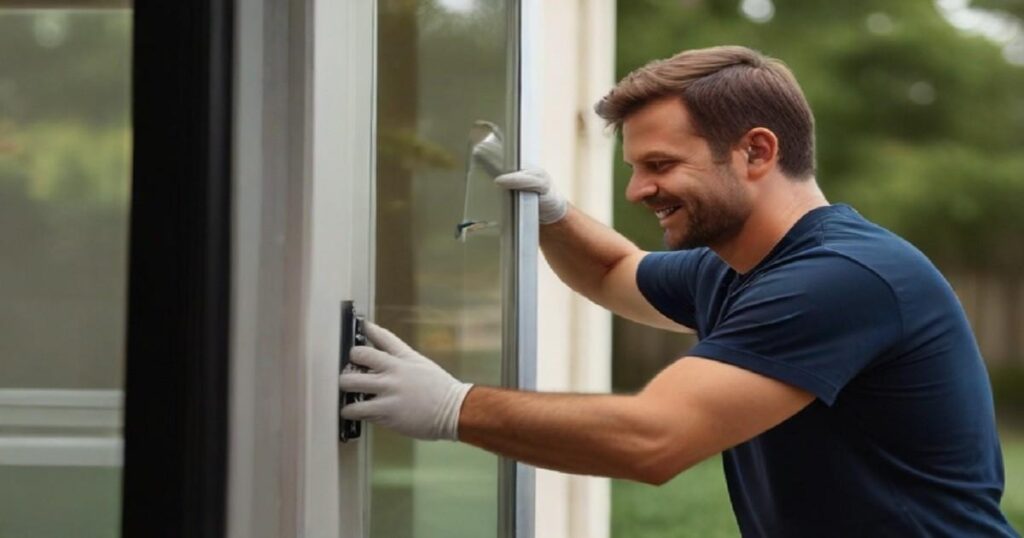
After installing the door, test its movement by opening and closing it a few times. If there are any issues, such as the door not sliding smoothly or not closing properly, use a level and adjust the tracks accordingly.
Sliding Screen Door Installation Problems and Solutions
While installing a sliding screen door on track is generally a straightforward process, there are a few common problems that you may encounter. Here are some potential problems and their answers:

- Uneven tracks: In case the tracks are not leveled the door can be stuck and have an uneven motion. This problem can be easily fixed by using a level to adjust the tracks.
- Improperly attached rollers: If the rollers are not securely attached, they may come off the tracks or cause the door to wobble. Make sure to double-check their installation.
- Mesh not fitting properly: If the mesh is too loose or too tight it will harm the door operation. The extraneous cloth can be removed and the mesh can be adjusted to fit appropriately.
Maintenance Tips for Sliding Screen Door
To ensure that your sliding screen door continues to function properly and last for years to come, here are some maintenance tips to remove and install sliding screen doors keep in mind:
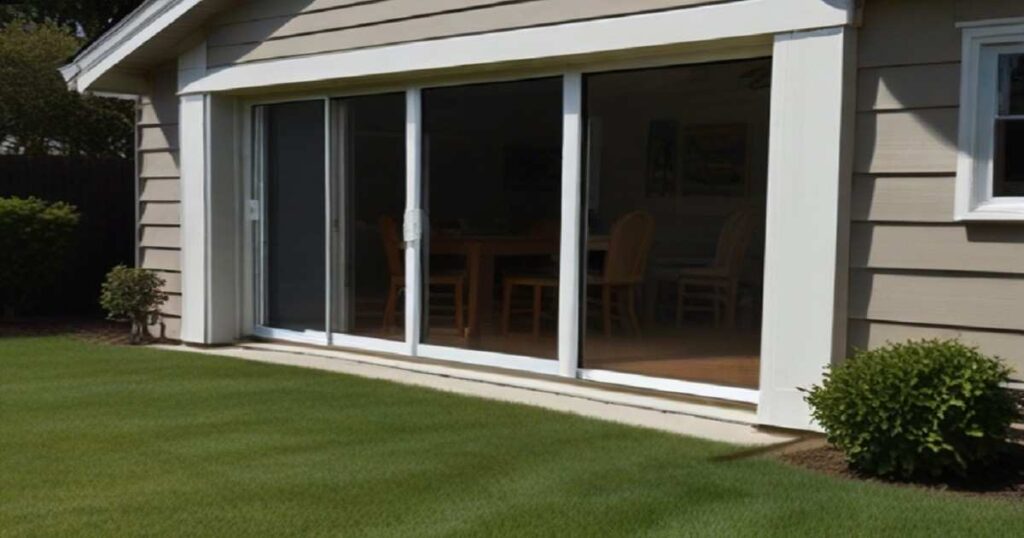
- Regularly clean the tracks and rollers to prevent any buildup of dirt or debris.
- Lubricate the rollers and tracks with a silicone-based lubricant at least once a year.
- Inspect the mesh for any tears or damage and replace it if necessary.
- Check the hardware, such as handles and locks, to make sure they are secure and functioning correctly.
- Keep the door closed when not in use to prevent it from getting damaged by strong winds or other factors.
Related: How to build a wooden screen door
FAQs:
Can I add a sliding screen door to an existing one?
You can put in a sliding door screen on a pre-existing door frame. However, to install a screen door sliding you may have to make some adjustments or possibly modifications based on the kind and size of your door.
How to install sliding screen doors on French doors?
Installing a sliding screen door on French doors follows the same steps as installing it on a regular door frame. The only difference is that you may need to install a temporary center stop to provide support for the screen door when closed.
My sliding screen door isn’t gliding smoothly. How can I fix this issue?
- Lubricate the tracks and rollers with a silicone-based lubricant.
- Check for any debris or dirt buildup in the tracks and clean them thoroughly.
- Use a level to adjust the tracks if they are uneven.
- Inspect the rollers for damage or wear and replace them.
How to replace sliding screen door?
For the replacement of a sliding screen door follows the same steps as installing it for the first time. However, there are a few additional tips to keep in mind:
- Take accurate measurements of your existing door and track to ensure you purchase the correct replacement size.
- Carefully remove the old door without damaging any of the hardware or tracks.
- Clean and prepare the tracks before installing the new door.
- Follow the same steps for installation as outlined earlier in this guide.
- Properly dispose of the old door and any packaging materials from the new one.
Conclusion
Now that you have successfully installed your sliding screen door, you can enjoy the benefits it offers, such as improved ventilation, enhanced views, and easy access. Remember to regularly maintain your door to keep it functioning smoothly and last for years to come. With proper care, your sliding screen door will continue to add value and convenience to your home.


