Are you tired of continuously struggling with your old and unreliable garage door opener? Do you want to upgrade to a more efficient and secure system? A good garage door opener is essential for any homeowner as it provides convenience and safety, and adds value to your home. In this guide, we will discuss that how to install Chamberlain garage door and make your life easier.
Why choose Chamberlain garage door opener?
Chamberlain is one of the most popular and reliable brands of garage door openers in the global market. They stock many products of good quality and durability to suit everyone’s needs regardless of the strength of their pocket. Here are some important reasons why you should consider choosing a Chamberlain garage door opener:
- Quiet and smooth operation: Chamberlain openers are known for their quiet and smooth performance, making them perfect for homes with bedrooms above the garage.
- Enhanced security features: With advanced security features like rolling codes and keyless entry systems, Chamberlain openers provide an added layer of protection for your home.
- Smartphone compatibility: Many Chamberlain garage door openers have smartphone compatibility, allowing you to monitor and control your garage door from anywhere with an internet connection.
- Reliable and durable: Chamberlain products are built to last and come with extensive warranties, providing peace of mind for homeowners.
Supplies needed:
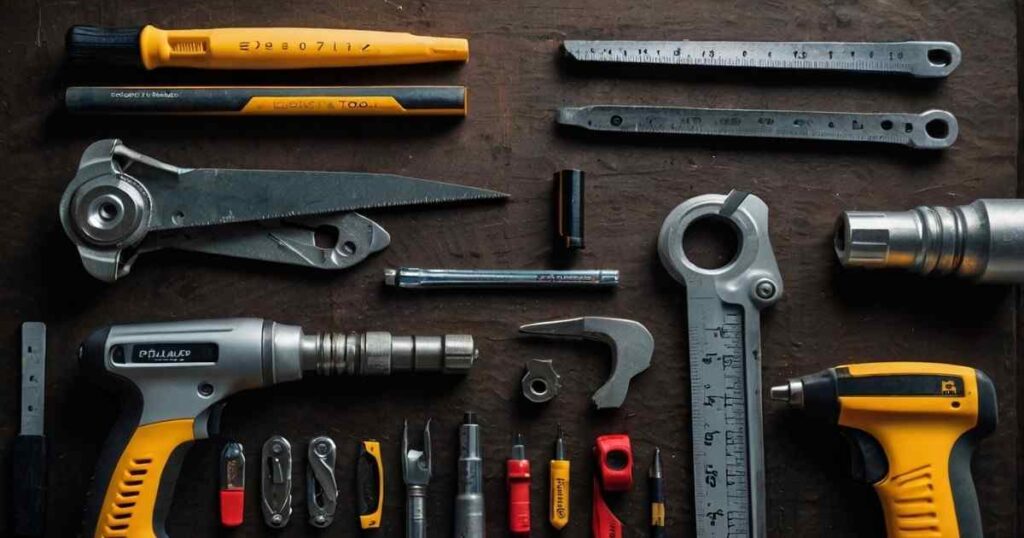
- Ladder
- Spanner
- Socket wrench
- Phillips head screwdriver
- Tape measure
- Marker
- Rope
- Power drill
- A trusted helper
- A spare 2-3 hours
Steps to install a Chamberlain garage door opener
Step 1: Prepare the garage door
Before beginning the installation process, make sure to disconnect your existing garage door opener and lock the manual release. Then, clean the tracks and check for any damage or wear on the springs and cables.
Step 2: Assemble the opener

Follow the instructions provided with your Chamberlain garage door opener to assemble all its components. Make sure to secure all the nuts and bolts tightly.
Step 3: Measure and mark the door

Use a measuring tape to find the center of your garage door. Mark and point out it with a pencil or marker. Then, measure and mark the same spot on the ceiling above the door. This will be your reference point for installing the opener.
Step 4: Install the main bracket
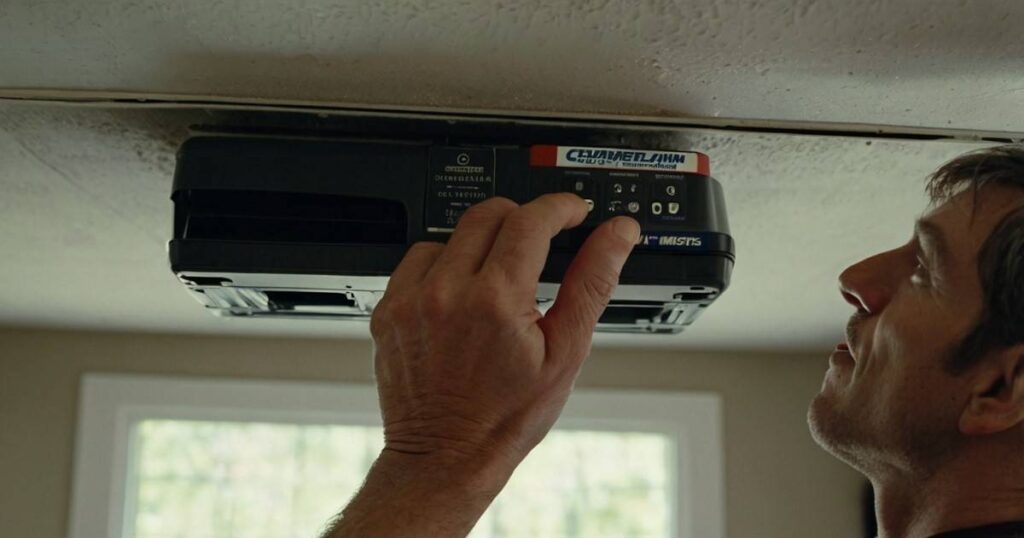
Using a power drill, attach the main bracket to the ceiling at the marked spot. Make sure it is secured tightly.
Step 5: Install the rail
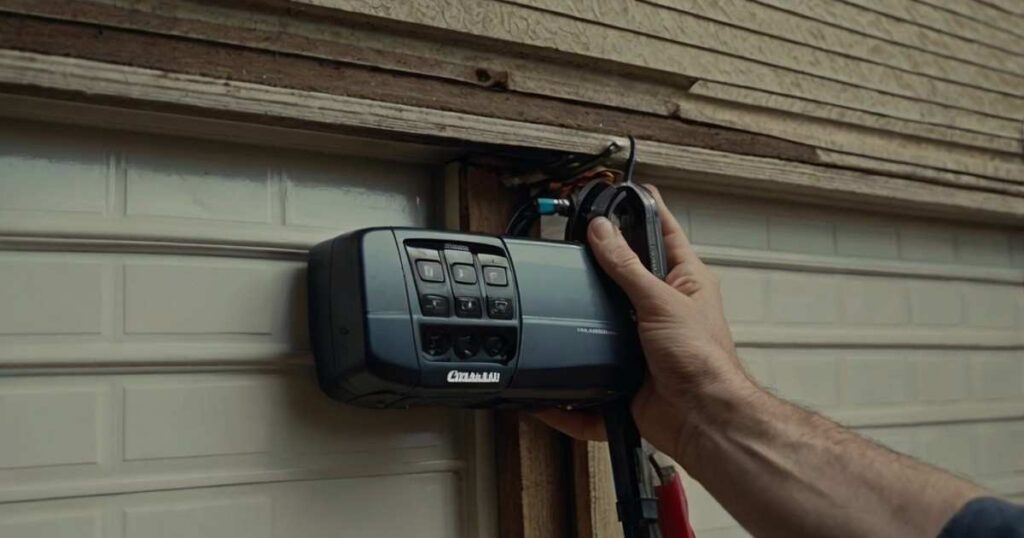
Attach the rail to the main bracket and secure it with bolts. The length of the rail will depend on your garage door height and size.
Step 6: Attach the motor unit
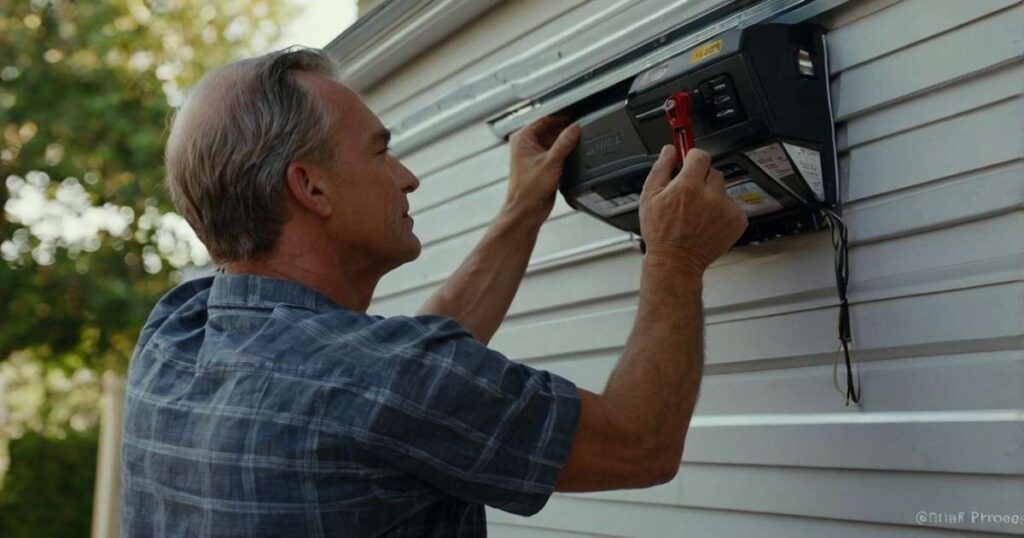
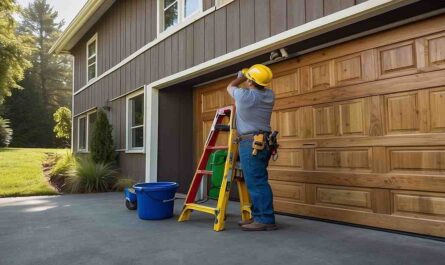
Using a ladder, attach the motor unit to the ceiling bracket and secure it with bolts. Make sure it is level and centered.
Step 7: Install the trolley
Slide the trolley onto the rail and connect it to the top of your garage door. Secure the chain or belt according to the instructions provided by Chamberlain.
Step 8: Connect the opener to power
Using a socket wrench, connect the opener to a nearby power outlet. Make sure you have proper grounding and all connections are secure.
Step 9: Test the system
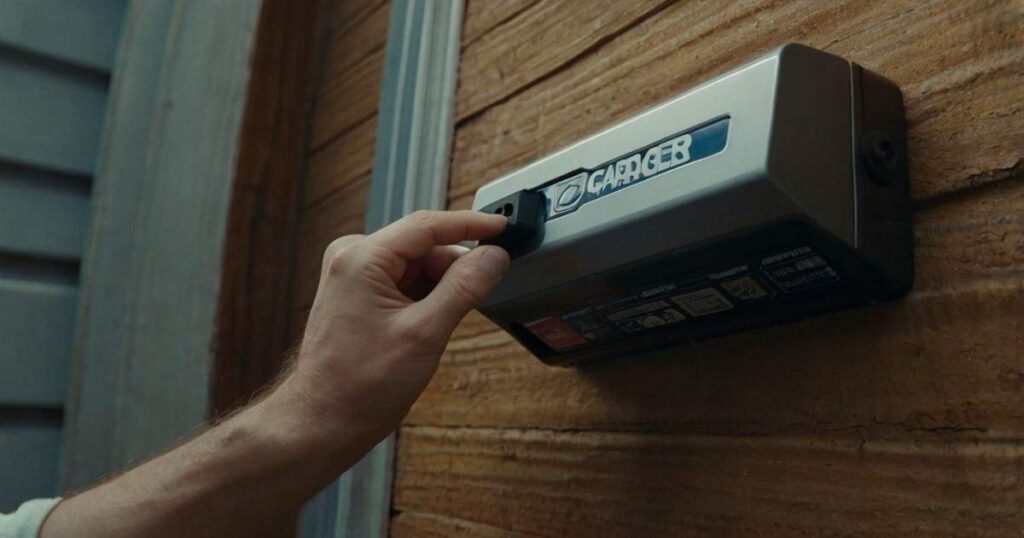
Follow the instructions provided by Chamberlain to test your garage door opener. Make any necessary adjustments to ensure smooth operation.
Common problems and solutions
Problem 1: Garage door opener won’t respond to remote control
Solution: First, check the batteries in the remote control and replace them if necessary. If the batteries are fine, ensure that the remote is programmed correctly to the opener. Refer to the manual for the programming instructions. Additionally, verify that there are no obstructions or interference between the remote and the opener. If all else fails, try resetting the opener by unplugging it for a few minutes and then plugging it back in.
Problem 2: The garage door reverses before hitting the floor
Solution: This issue often indicates that the travel limits on the opener need adjustment. Locate the travel limit adjustment screws on the side of the motor unit. Gradually adjust the ‘close limit’ screw, turning it in small increments and testing the door after each adjustment until it closes properly without reversing. Additionally, ensure that the safety sensors are clean, aligned, and free of obstructions.
Problem 3: Noisy operation
Solution: A noisy garage door opener may be because of many factors. Lubricate all shifting parts, inclusive of the rollers, hinges, and tracks, with a silicone-based total lubricant. Tighten any loose bolts and screws on the opener and storage door. If the noise continues, it might be due to tired elements which include the trolley or rail. Inspect these additives and replace them if essential.
Maintenance tips:
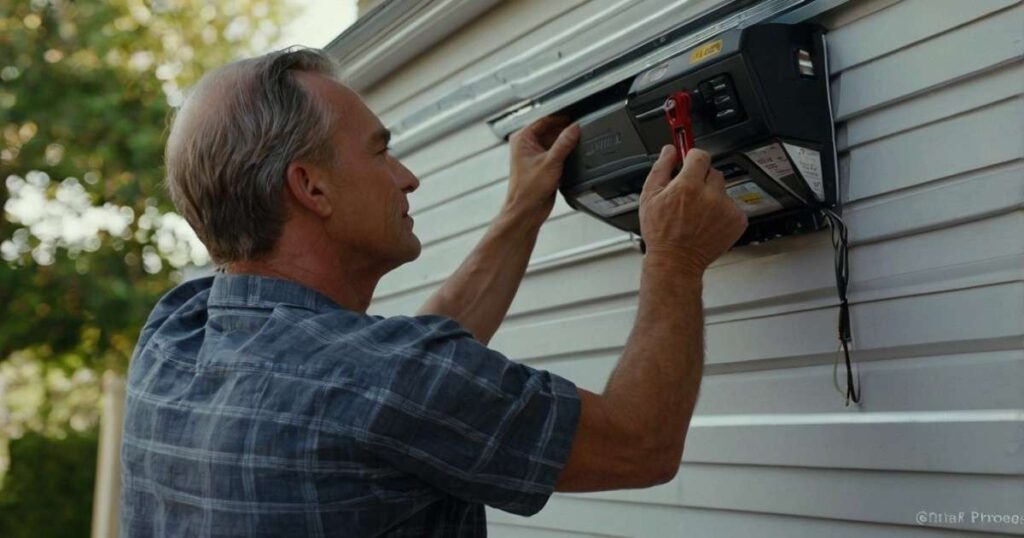
Here are some maintenance tips to keep in mind:
- Regularly check for any loose or worn-out parts and tighten or replace them as needed.
- Lubricate all moving parts at least once a year to reduce friction and prevent wear and tear.
- Clean the photoelectric sensors regularly to ensure they are functioning properly.
- Test the auto-reverse function each month to make certain its miles operating correctly and offering a safety measure for your own family.
- Keep the opener motor clean and free from any dirt or debris.
Read: How to replace wood garage door panels
FAQs:
Is Chamberlain garage door opener easy to install?
Yes, with the right tools and instructions, installing a Chamberlain garage door opener can be done by homeowners themselves.
How to connect wires to Chamberlain garage door opener?
Refer to the instructions provided by Chamberlain for the specific wiring connections required for your opener model. Make sure to turn off the power before connecting wires and follow all safety precautions.
How often should I replace my garage door opener?
The lifespan of a garage door opener can vary depending on usage and maintenance. However, on average, they can achieve between 10-15 years, Although this additionally depends on their nature, utilization, and other elements. It is usually recommended to replace them before they start experiencing great issues or breakdowns.
Conclusion:
Installing a Chamberlain garage door opener is a simple process that can be done with some basic tools and materials and a couple of hours. With its advanced features and reliability, a Chamberlain opener is an excellent choice for any homeowner looking to upgrade their garage door system. Remember to follow all safety precautions and maintenance tips to ensure the continued smooth operation of your new garage door opener.

