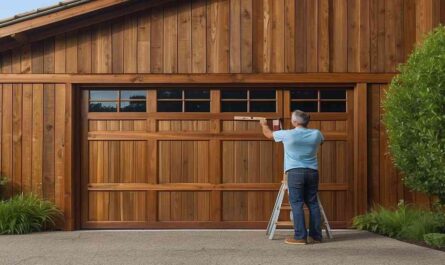
Wood garage doors give homes a classic and fancy look. But, they need regular care to stay in good shape against weather and wear. If you’re looking to give your old wood garage door a new look then replacing the panels is an excellent option. It not only makes your door look better but also keeps it sturdy and looking great.
In this article, we’ll guide you through a detailed, step-by-step process for how to replace wooden garage door panels. We’ll cover everything from the tools and materials needed to the actual replacement process.
Can I Replace a Garage Door Panel By Myself?
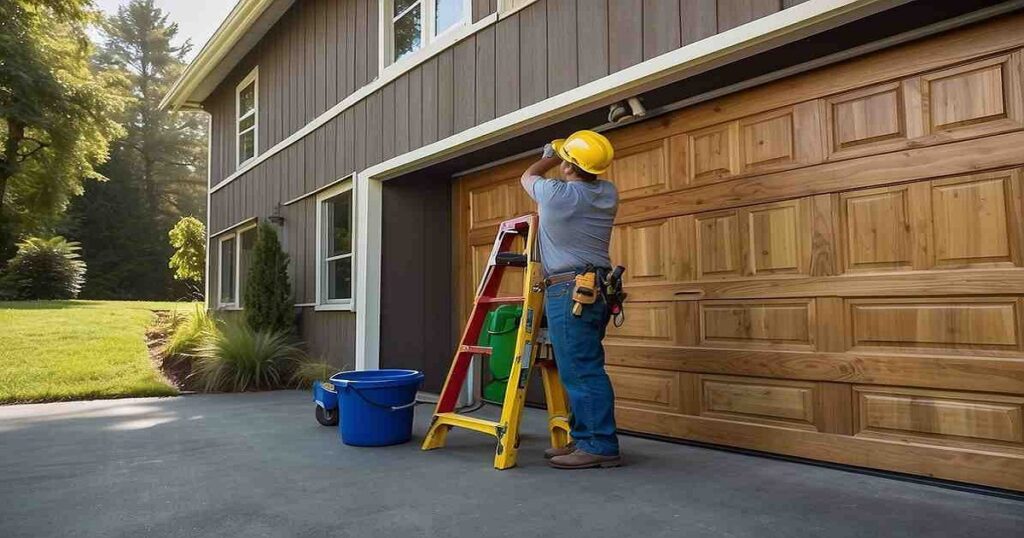
Yes, you can replace a garage door panel by yourself if you have basic handyman skills and the right tools. However, keep in mind that replacing a garage door panel is not an easy task. It requires precision, patience, and proper preparation to ensure a successful replacement.
Tools and Materials
Before you start replacing your wood garage door panels, make sure you have the following tools and materials ready:
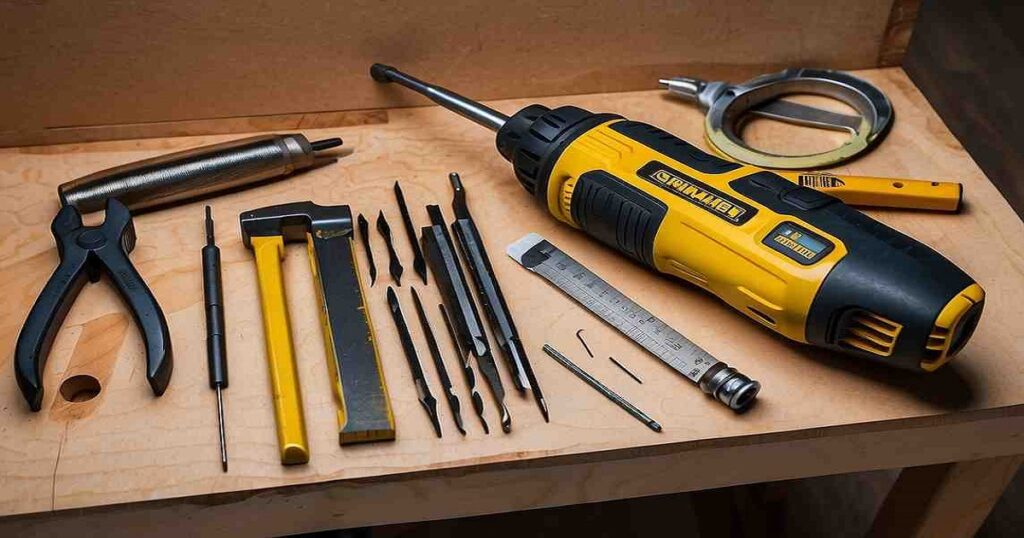
- Screwdriver
- Pry bar
- Hammer
- Measuring tape
- Saw (hand or power)
- Nails or screws
- Paint or stain (optional)
Step-by-step guide on how to replace wood garage door panels
Step 1: Measure Your Panel
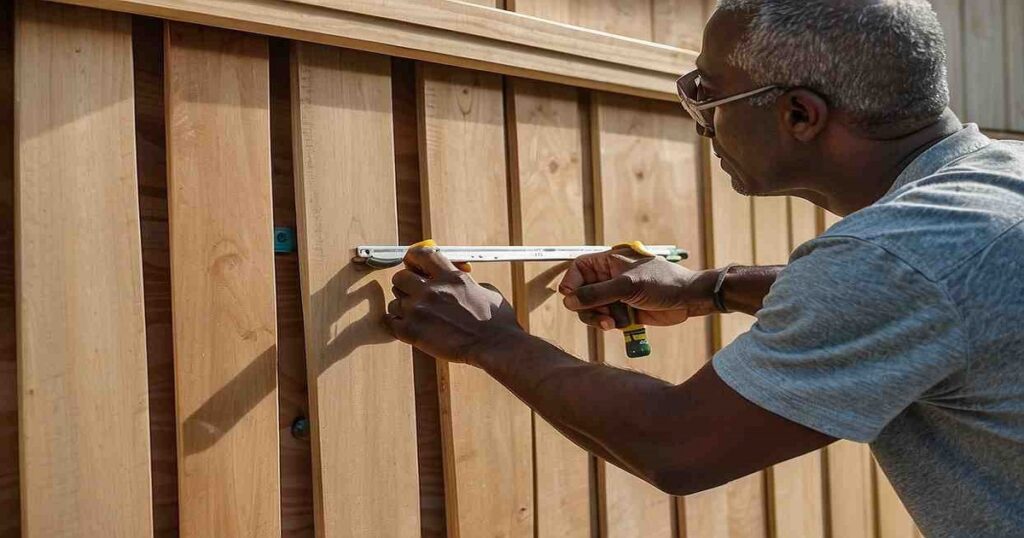
The first step to replacing your wood garage door panels is to accurately measure the old panel. This ensures that you buy or cut a new panel that fits perfectly. Start by using measuring tape to find the height and width of the panel you are replacing.
Carefully note these measurements. If you want to replace several identical panels on your garage door, just measure one of them. If there are different sizes of panels, you may need to measure every one individually.
Step 2: Remove the Old Panel
Once you’ve taken your measurements, it’s time to remove the old panel. By using a screwdriver to take out any screws or nails holding the panel in place. Next, use a hammer or pry bar to remove all trim across the panel, pulling the antique panel out gently and putting it aside.
Step 3: Prepare the New Panel
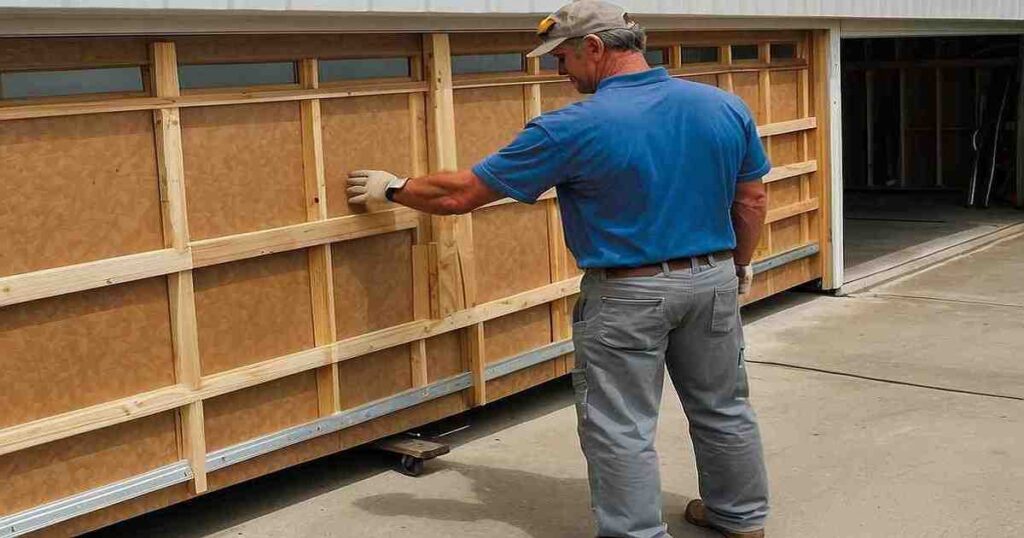
Now it’s time to prepare the new panel. If you’re purchasing a pre-made panel, make sure it matches the measurements of the old panel. If you’re cutting your panel, use your saw to cut it to size carefully. You may also want to sand and paint or stain the new panel before installing it.
Step 4: Install the New Panel
The new panel is now prepared. It’s time for installation. First off, just smoothly slide the panel into place and make sure it lines up nicely with the other panels of your garage door. Secure the panel with nails or screws, making sure they are spaced evenly and not too near the panel’s edges.
If the panel has trim pieces, make sure to attach those as well. Repeat this process for all the panels you need to replace.
Step 5: Finishing Touches
Once all the new panels are established, take a step back and check out your newly up-to-date garage door. If you want, you may paint or stain the whole door to make it look extra cohesive. Don’t forget to ease up any mess from swapping it out, too.
Prevention and Maintenance Tips

Regular maintenance and prevention protocols can extend the lifespan of your wood garage door panels and save you both time and money in the long run. Here are some essential tips to keep in mind:
- Regular Inspections:
Frequent checks can help spot early signs of wear and tear. Look for cracks, warping, or water damage that might indicate more serious problems.
- Seal and Protect:
Use a quality sealant or coating to prevent wood damage caused by weather, humidity, and pests.
- Proper Cleaning:
Clean your door regularly with slight cleaning soap and water. Avoid harsh chemicals or abrasive scrubbers, which could harm the timber and its finish.
- Lubricate Moving Parts:
To reduce strain on the garage door panels, ensure all moving parts are well-lubricated using a silicone-based lubricant.
- Immediate Repairs:
Address any damage or issues as soon as you notice them to prevent them from worsening.
FAQs:
Can you replace the panels on the garage door?
Ans: Yes, you can replace just the panels on a garage door without buying a new one. This is a great choice if you wanna give your garage door a new look without breaking the bank.
How much does it cost to replace wood around a garage door?
Ans: The cost of replacing wood around a garage door can vary depending on the size and type of panels. Typically, fixing a wood garage door costs between $200 and $300. But if it needs major repairs or new parts, the cost could shoot up to more than $1,000.
Can you replace parts of a garage door?
Ans: Yes, you can replace specific parts of a garage door, such as panels or springs. It’s important to check that the replacement parts fit your particular door.
Can I replace the garage door with windows?
Ans: Yes, you can replace a garage door with windows. However, this is a more complicated and expensive process as it involves removing the entire door and installing a new one with custom-sized windows.
Conclusion
With the right tools and preparation, replacing wood garage door panels can be a Simple task. Regular maintenance and prevention measures can also help extend the health of your panels. So don’t be afraid to replace your old garage doors with new panels. Always make sure that safety and accuracy are at the top of your home improvement list.


