 by
by If you are worried about how to install a wooden screen door then this article is for you. It can be a difficult task if you don’t know how to install it properly, with the right tools and instructions, you can easily install a wooden screen door quickly.
In this article, we will guide you through the simple and easy steps of installing a wooden screen door to your home.

Time of completion
The time required to install a wooden screen door varies based on your expertise and the door’s intricacy. With proper tools and guidance, the process typically takes 1-2 hours. Having a second person assisting you during the installation is always helpful. This not only makes the task quicker but also ensures accuracy and safety.
Materials needed
Before we begin with the installation process, let’s gather all the necessary materials. for the installation a screen door, you will need:

- Wooden screen door
- Hinges (preferably three)
- Screws
- Screwdriver or drill
- Measuring tape
- Pencil
- Level
A step-by-step guide to installing a wooden screen door
Step 1: Measure the Door Frame

The first step in installing your wooden screen door is to carefully measure the frame. Use a measuring tape to determine the height and width of the opening where the door will be installed. It is important to measure from the inside edges of the door frame for accuracy. Record these measurements and compare them with the dimensions of your wooden screen door to ensure a good fit. Adjustments may be necessary if the door is too large or small for the opening. Remember, it’s better to have a door slightly larger than the opening as it can be Condensed: a door that is too small, however, will pose significant installation challenges.
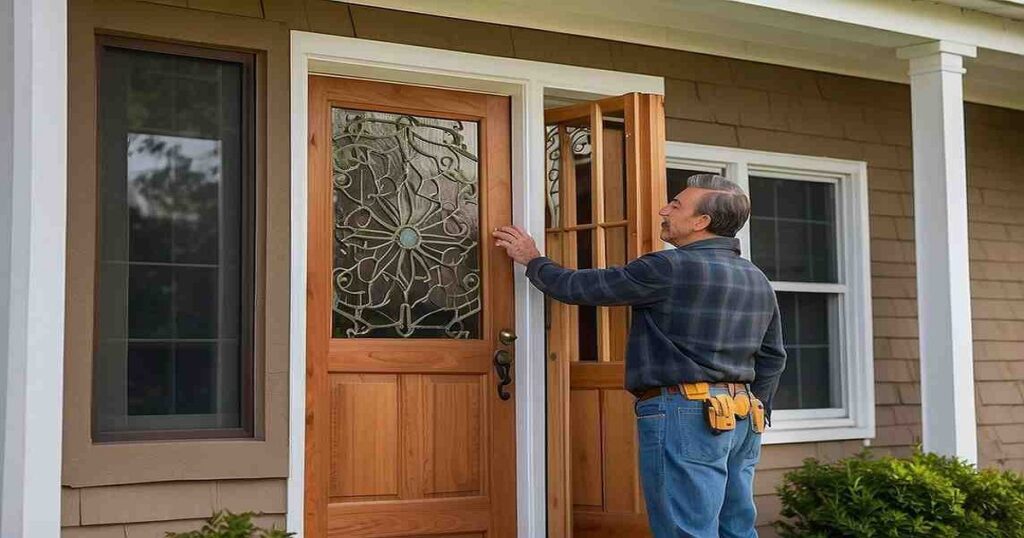
Step 2: Selecting a Screen Door
Once you’ve measured the door frame, the next step is selecting the right screen door for your home. when making your selection think about the design and style of a screen door that best suits the decor of your house. Also, pay attention to the durability and quality of the material. Additionally, verify that the dimensions of the screen door match or are slightly larger than your frame measurements to ensure a proper fit. This is essential for smooth operation and installation.
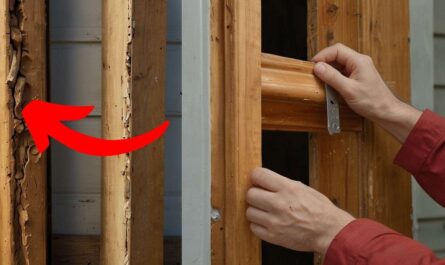
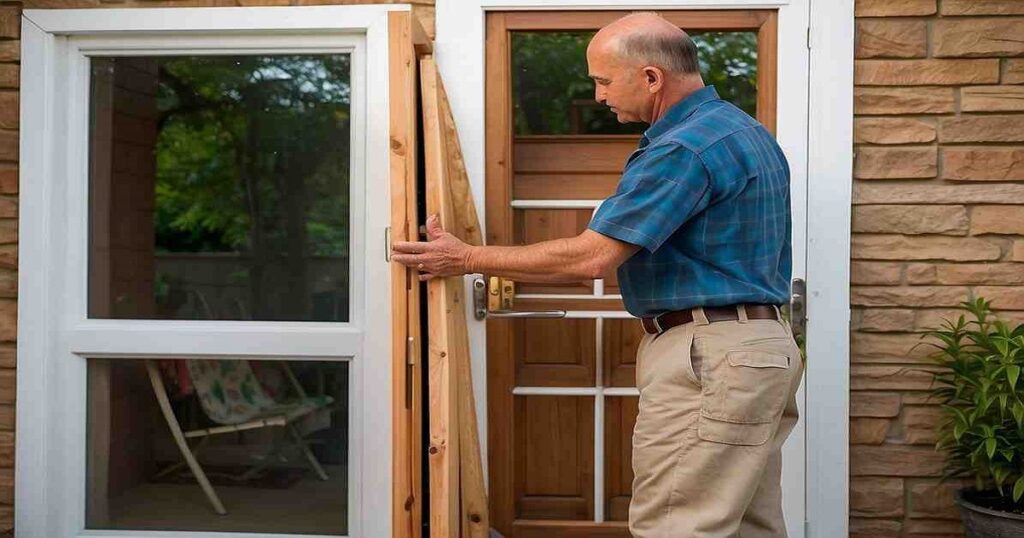
Step 3: Fitting the Screen Door

To ensure a proper fit, place the wood screen door within the frame. If the door is a little bigger than the frame, carefully cut it down using a saw or plane. Ensure that there is a small clearance gap, ideally about 1/8 inch, around the door to allow for free movement and expansion. Once the door fits you’re ready to go for the next step.
Step 4: Installing the Hinges

Mark the locations of the door’s hinges on both the door frame and the door itself first, making sure they are precisely placed for easy access. Afterward, use a screwdriver or drill to attach the hinges to the frame, being careful not to remove the screws. After attaching the door to the hinges, make sure no barriers are preventing it from swinging open and closing freely.
Step 5: Installing the Handle

Make sure the handle is at the right height when marking the location on the door where it will be installed. Screw the handle into position, making sure it is securely fastened and functions smoothly. To have the door stay closed when not in use, don’t forget to add a latch or hook.
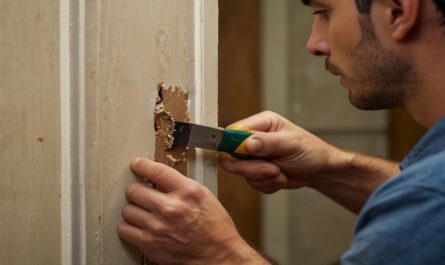
Step 6: Adding Finishing Touches
Check that the screen door closes flush with the frame and make any necessary adjustments. Once satisfied, apply a coat of paint or varnish to protect it from weather elements. Allow it to dry completely before using your new wood screen door.
Prevention Tips for Maintaining Your Wooden Screen Door
Regular Inspection and Maintenance:
Check your wooden screen door regularly for wear and tear indicators, including loose screws or hinges, and fix any issues right away. Regular maintenance can stop minor problems from growing into larger ones.
Apply a Protective Coating:
Depending on the local weather, coat your wooden screen door with a protective layer of paint or varnish every year or two to keep it safe from the elements and increase its lifespan.
Clean Gently:
Wipe down your screen door with a moist cloth to keep it clean. To prevent harming the wood or its finish, stay away from using abrasive cleaning or strong chemicals.
Also read: How to remove paint from wood door
FAQs:
1. Can I install a screen door myself?
Ans: As long as you correctly measure the door frame and acquire the necessary tools, you will be able to properly install a screen door in no time.
2. What is the best way to install door hinges?
Ans: The easiest way to install door hinges is to align them well, and then use a screwdriver or drill to secure them. Ensure they are straight and evenly spaced for smooth door operation. Using pilot holes with screws can prevent wood damage.
3. How do you seal a wooden screen door?
Ans: To seal a wooden screen door, sand it smooth, apply primer/sealer on all sides, sand lightly, then apply another coat.
4. What is the average lifespan of a wooden screen door?
Ans: A wooden screen door can last 5-10+ years with good materials and maintenance. Regular care like sealing and repainting extends its lifespan.
Conclusion
Installing a wooden screen door may seem like a difficult task, but with the right tools and instructions, it can be done in just a few simple steps. Through this article, you can easily add an elegant and functional addition to your home. Remember to measure carefully, select a high-quality door, and finish it off with a coat of paint or varnish for the best results.