
 by
by “How to stain a wood door is a common question that comes to the mind of every homeowner” Staining a wood door is a simple and effective way to increase its natural beauty. Whether it’s a new wooden door or an old one that needs refreshing, staining can help bring out the rich color and grain of the wood, making it stand out in any space. In this article, we will guide you through the step-by-step process of how to stain a wood door and achieve professional-looking results.
Materials You Will Need
Before starting the process, it’s important to gather all the materials you will need. This includes:
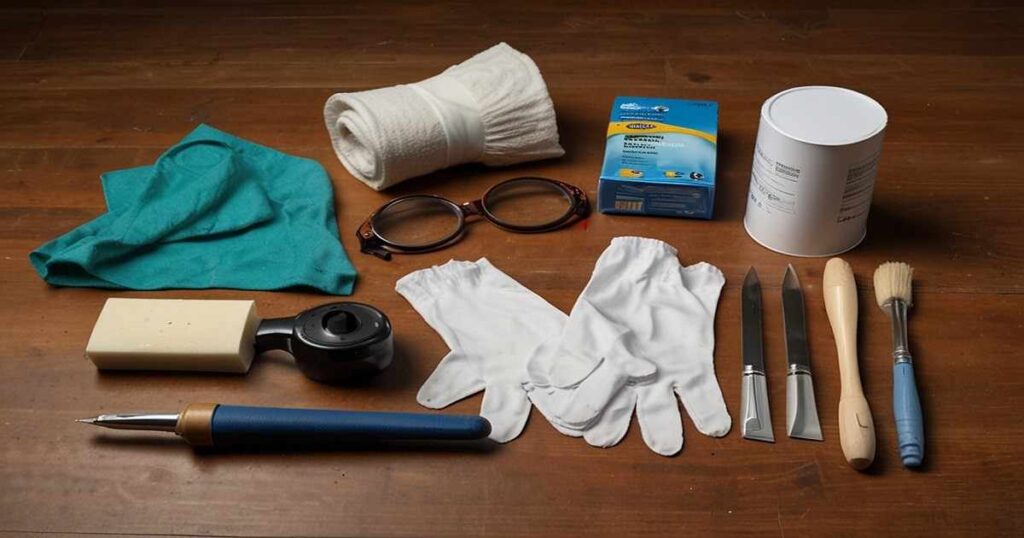
- The stain of your choice
- Sandpaper
- Paintbrush or staining pad
- Drop cloth or plastic sheeting
- Protective gloves and goggles
- Clean rags or clothes
- Mineral spirits (for cleaning up)
- Clear finish (optional for added protection)
How to stain a wood door? Step-by-Step
1. Choose Your Stain Color

The first step is choosing the stain color you want for your wood door. There are a wide variety of stains available in different colors and finishes such as gloss, semi-gloss, and matte. It’s important to choose a stain that complements the overall look and feel of your home.
2. Remove the Door

To avoid making a mess, it’s best to remove the door from its hinges and place it on a stable surface. Lay down a drop cloth or plastic sheeting to protect your floor from any spills or drips.
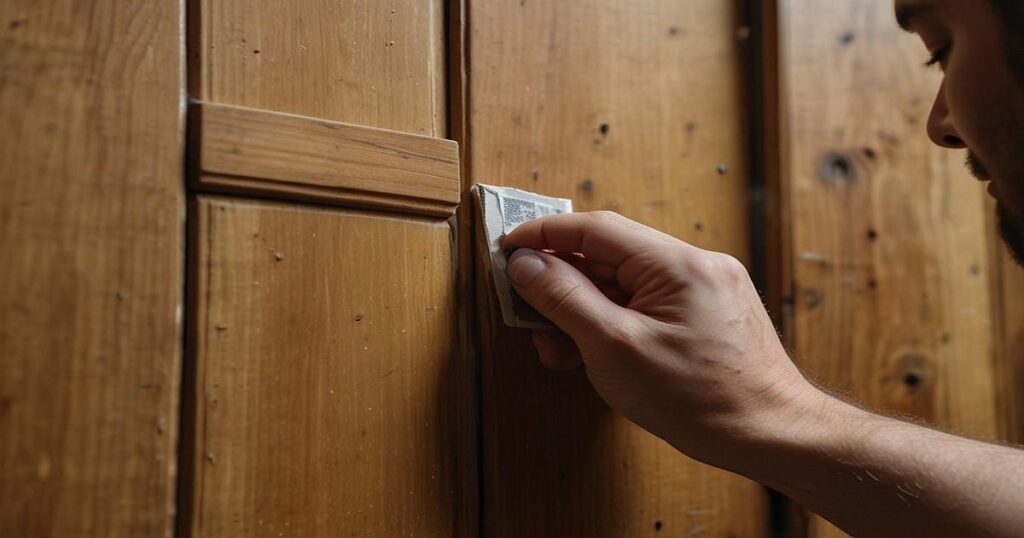
3. Sand the Door
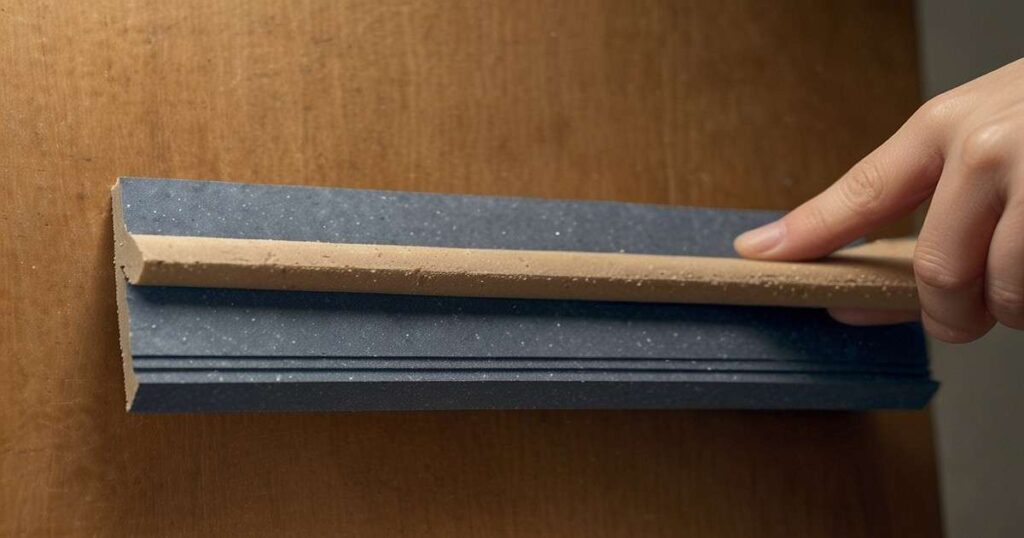
Using sandpaper, start by lightly sanding the entire surface of the door. This will help remove any existing finish, dirt, or imperfections on the wood. Sanding also helps open up the pores of the wood, allowing for better absorption of the stain.
4. Apply Stain

After the door has been sanded and is clean then the stain must be applied. You can either use a paintbrush or “A staining pad” and apply a consistent stroke of stain along the wood going with the same pattern of the wood. There is no faster way to do it. Just spend some time on each section where you will cover every area.
5. Wipe off Excess Stain
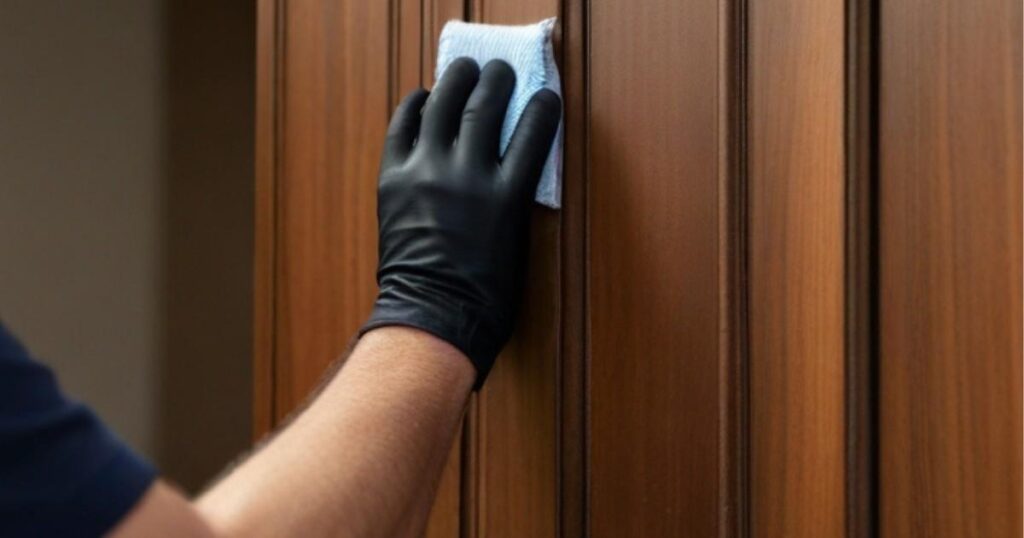
After letting the stain sit for a few minutes (depending on the instructions on your chosen stain), use a clean rag or cloth to wipe off any excess stain. This will help prevent drips and uneven color.
6. Let the Stain Settle and Dry

Let the stain dry completely before applying a second coat if preferred. Check the label for recommended drying times.
7. Apply Clear Finish (Optional)
If you want added protection and shine, you can apply a clear finish of wood door stain color over the stained door once it is completely dry. This will help protect the wood from scratches and moisture.
8. Reattach the Door
Once the door is fully dry, you can reattach it back to its hinges and enjoy your newly stained wood door!
Tips for Staining a Wood Door

- Always work in a well-ventilated area and wear protective gear such as gloves and goggles to avoid any contact with the stain.
- Stir the stain well before applying to ensure an even color.
- If you choose a darker or extra severe color, you can apply more than one coat of stain, however, make sure to let each coat dry completely earlier than making use of the next one.
- Use lengthy, even strokes whilst applying the stain to keep away from streaks and brush marks.
- If you observe any bubbles or drips in the stain, gently run a dry paintbrush over them to clean them out.
- It is first-rate to cast off them before starting the staining system to remove stains from the wood door on the hardware or doorknobs.
- To obtain a more natural-looking and rustic effect, you can lightly sand the door surface after staining the wood door interior and then remove some of the stains so that the wood grain.
Also read: How to refinish a wood door
FAQs:
What’s the best way to apply stains to a door?
The best way to apply stain to a door is by using a paintbrush or staining pad, following the direction of the wood grain.
Can you stain a door while it’s hanging?
Yes, it is possible to stain a front door while it’s hanging, but it may be more difficult to ensure an even application and protect your floors and surroundings from any drips or spills. It’s recommended to remove the door from its hinges for easier staining.
How many coats of stain do you put on a door?
The number of coats of stain you put on a door depends on the desired color and finish. Typically, one to two coats are enough, but you can apply more for a darker or richer color.
How to stain a door that is already stained?
If you want to change the color of a door that is already stained, you need to go through stripping off the existing stain with a stripping agent and sanding. After the dirty stain is removed, follow the steps explained above to stain a new wood door.
How to stain a door with oil-based stain?
With an oil-based stain, Follow the same procedure as written. But make sure to use mineral spirits while cleaning up instead of water. It’s important to note that oil-based stains require different solvents for the clean-up process.
How to stain an unfinished interior door?
Staining an unfinished interior door is similar to staining a new wood door. The only thing that can change is that you may need to put more sand to smoothen the wood and remove all the rough spots and imperfections before applying the stain.
Conclusion
Staining a wood door is an easy and cost-effective way to update the look of your home. By following these simple steps and tips, you can achieve professional-looking results in no time. Remember always to work carefully and patiently, and you’ll have a beautifully stained wood door that will last for years to come.